Mission 2: Integrate in React Application
Estimated time: 25 minutes
Learning Objective
Take a brief excursion into an external project to learn how to integrate LOGIBLOX into a React application. By following these steps, you'll see firsthand how LOGIBLOX can serve as a backend for web applications, enabling real-time data synchronization between your React app and LOGIBLOX tables.
Prerequisites
Please refer to the Navigation Guide to familiarize yourself with the platform interface.
Technical Requirements
Before starting, ensure you have:
- Git installed on your computer
- Node.js and npm installed
- Basic understanding of command line/terminal
- Text editor for viewing code (VS Code, Sublime, etc.)
External Resources
GitHub Repository
First, you need to clone the example React application:
- Repository: Database-App on GitHub
- How to Clone: GitHub's Guide to Cloning a Repository
Step-by-Step Instructions
1. Stay in Your Backend Project
You can stay in the "My Backend" folder for this mission.
2. Clone the Repository
Open your terminal/command line and clone the repository:
git clone https://github.com/logiblox-admin/Database-App.git
3. Install Dependencies and Start the App
Navigate to the cloned directory and follow the instructions on the GitHub page to:
- Install dependencies (
npm install) - Start the development server (
npm start)
4. Configure Your API Key
Use the API Key you created in Mission 1 to connect the React app to your LOGIBLOX backend.
The app will prompt you to enter: - Your API key - Your project/folder information
5. Test the Integration
After configuration, you can:
- Perform table manipulation from the React app
- Check LOGIBLOX table - changes are applied instantly!
- Verify real-time sync between the app and LOGIBLOX
6. Explore the Source Code
Now take a look at the source code to understand:
- How the API calls are structured
- How authentication works
- How CRUD operations are implemented
- How to include this in your company's projects
Visual Guide
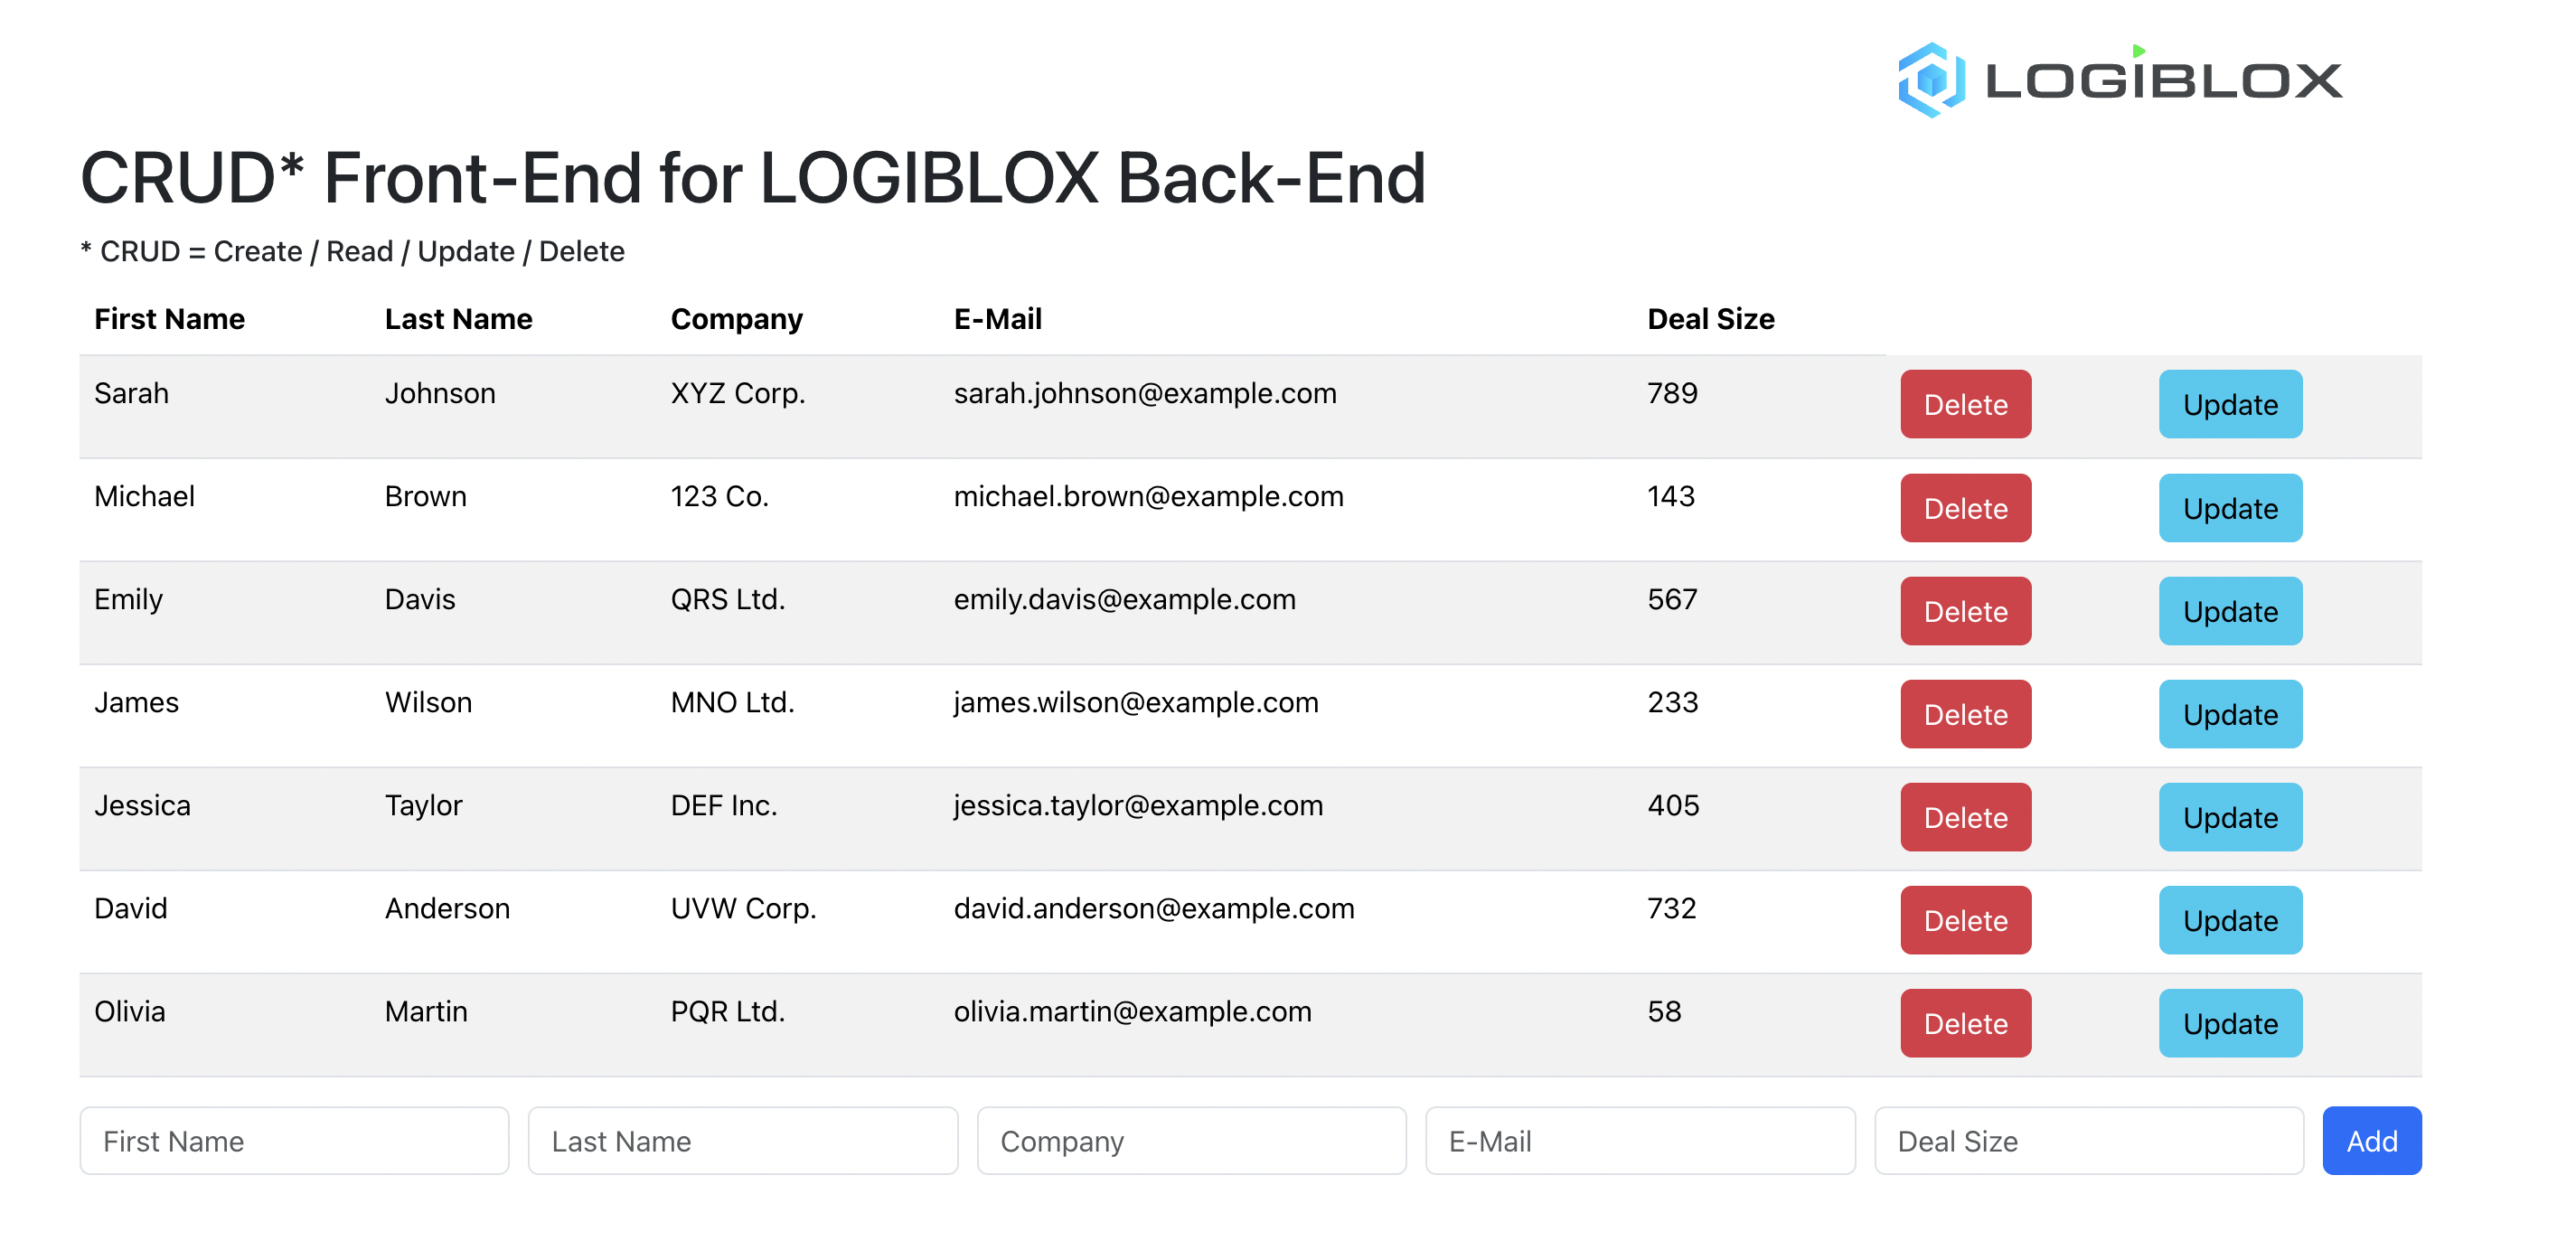
How It Works
The Integration Flow
- React App - User interface for data interaction
- API Calls - HTTP requests using your API key
- LOGIBLOX Backend - Processes requests and updates tables
- Real-Time Sync - Changes reflect immediately in both systems
What You're Seeing
When you modify data in the React app:
- The app sends an API request to LOGIBLOX
- LOGIBLOX updates the table
- Changes appear instantly in your LOGIBLOX project
- No page refresh needed - it's real-time!
Technical Details
API Operations in the React App
The sample application demonstrates:
- GET requests to read data
- POST requests to create new records
- PUT requests to update existing records
- DELETE requests to remove records
Code Structure
Key files to examine:
- API configuration - How the API key is used
- Service layer - Functions for CRUD operations
- React components - UI for displaying and editing data
Extending This Integration
You can use this example as a template for:
| Application Type | Use Case |
|---|---|
| Custom Dashboard | Build executive dashboards with React |
| Mobile App | Create mobile apps using React Native |
| Client Portal | Develop customer-facing portals |
| Internal Tools | Build custom business applications |
| Partner Integration | Enable partners to access your data |
Summary
You've successfully learned how to:
✓ Clone and set up a React application
✓ Configure API authentication
✓ Connect a React app to LOGIBLOX backend
✓ Perform CRUD operations from external applications
✓ Verify real-time data synchronization
✓ Understand the integration architecture
✓ Explore source code for custom implementations
Next Steps
With this knowledge, you can:
- Adapt the code for your own applications
- Build custom frontends for your LOGIBLOX data
- Create mobile apps using the same approach
- Integrate LOGIBLOX into existing web applications