Mission 10 - Navigation Bar
Estimated time for completing this mission: 15 mins
Learning Objective
Create a navigation bar with multiple pages.
Background Information
Navbar makes the navigation easier and the whole app more professional.
BLOX used in this mission:
App Templates
- Navbar
- Chart
- Table
Data
The same data set will be used as for the previous exercise. In case you do not have the data set you can download it here: FinalData.xlsx
Steps
Please refer to Navigation Guide to perform the steps below
App Designer:
- Open the Multi Page app you created in Mission 9
- Remove the two Button templates from the header area
- Drag the Navbar template into the header area
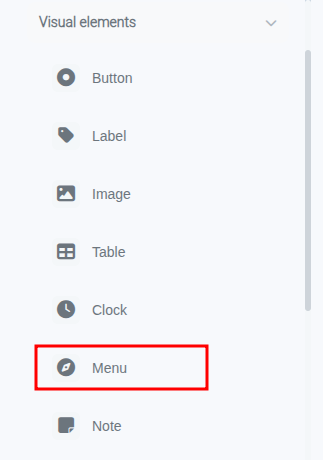
- Double-click on the Navbar template and click the "New Option" button in the top left corner to create navbar items
- Create two navbar items for the two pages you already have (Chart page and Table page)
- To link items to pages, double-click on the Navbar template, click the arrow on the right side of the selected item, hover over the "Pages" option, and select the page you want to link
- Link the first navbar item to the Chart page and the second navbar item to the Table page
- Rename the navbar items to meaningful names (e.g., "Chart View" and "Table View")

Results
The images below show the Navbar at the top with different items and sub-items.
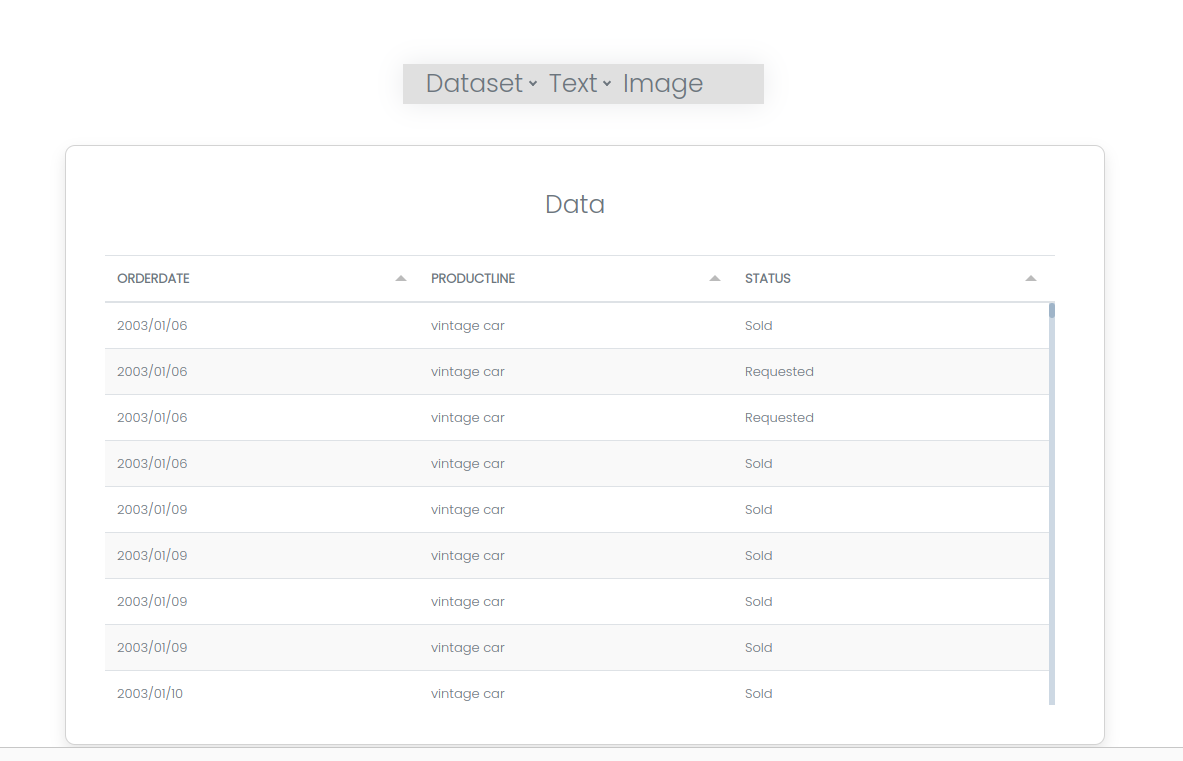
The results below showing different pages with different content, but feel free to be creative and fill the pages with your content.

Well done! You have completed the Dynamic Apps section of Module 5.