Mission 2 - First Flow
Estimated time for completing this mission: 15 mins
Learning Objective
You probably know and have used Excel many times. The Data tab is your interface to quickly change major flaws or rename columns. This part of LOGIBLOX needs no introduction. All other operations on the data are done using so-called Flows. Analogous to the previous task, go to the Flow builder and go to the folder called "Module 3". You are required to create a simple view from the existing dataset.
BLOX Used in This Mission
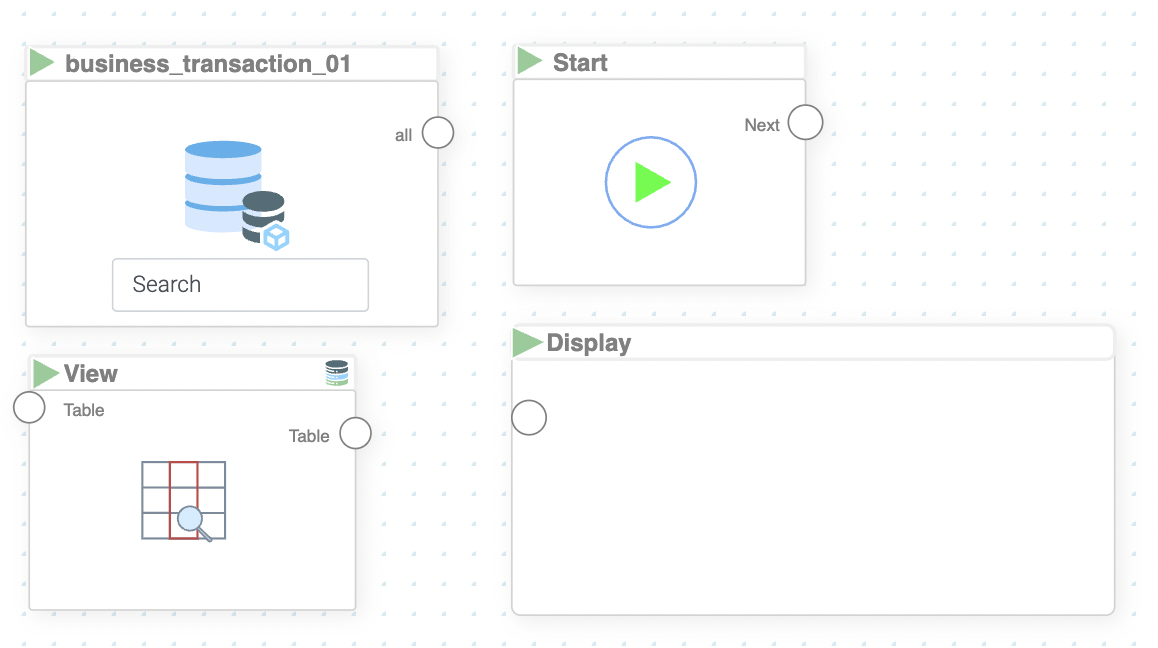
- Basics/Start
- MyData/business_transaction
- Database/View
- Basics/Display
Data
Please download the dataset, which will be used: business_transaction.xlsx
Steps
Please refer to the Navigation Guide to perform the steps below
1. Navigate to Module 3 Folder
Analogous to the previous task, go to the "Module 3" folder.
2. Create a New Flow
In the "Module 3" folder, click the "Add Item" button and select "Create Flow". Name it "mission 2". This will open the Flow Builder interface.
3. Add BLOX from Library
There you can add the blox from the right menu called "Blox Library".
Hint
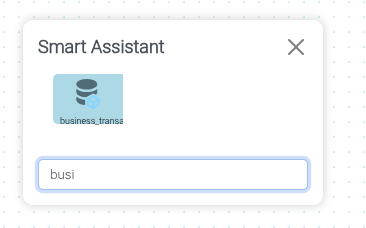
BLOX can also be placed in the Flow Builder via right-click. This is more efficient, but also requires extensive knowledge of the available BLOX library.
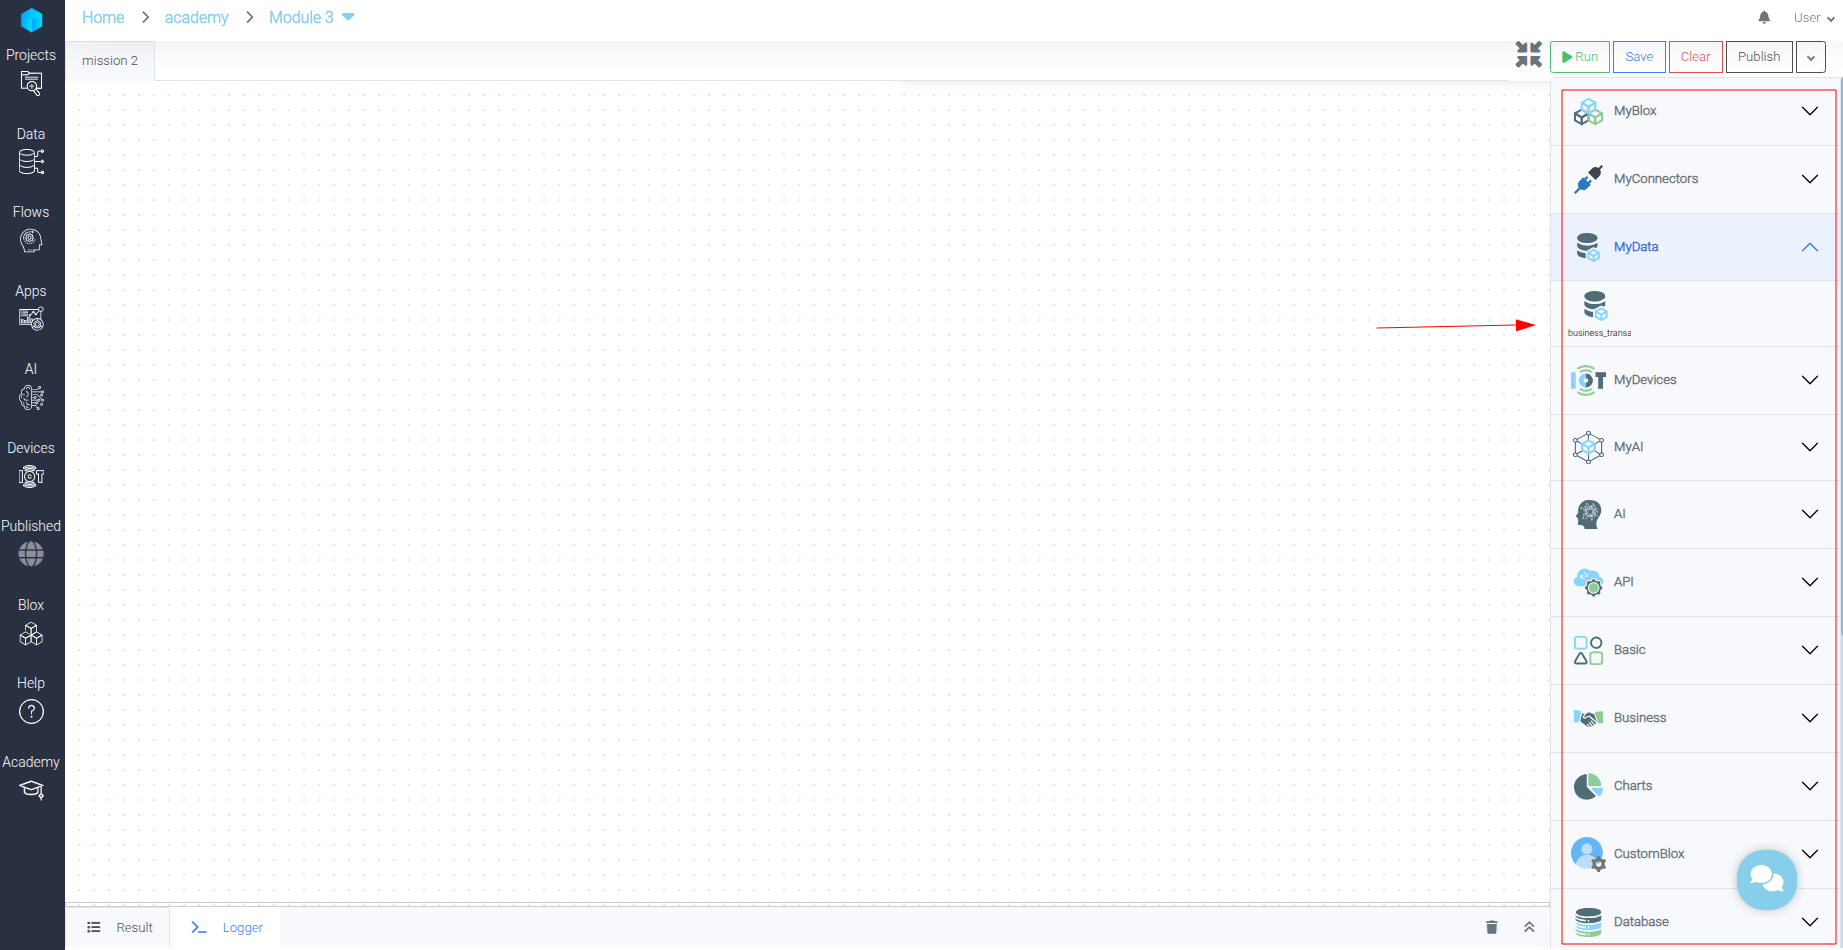
Right-click on the flow area and enter business_transactions to import the relevant data from the MyData module.
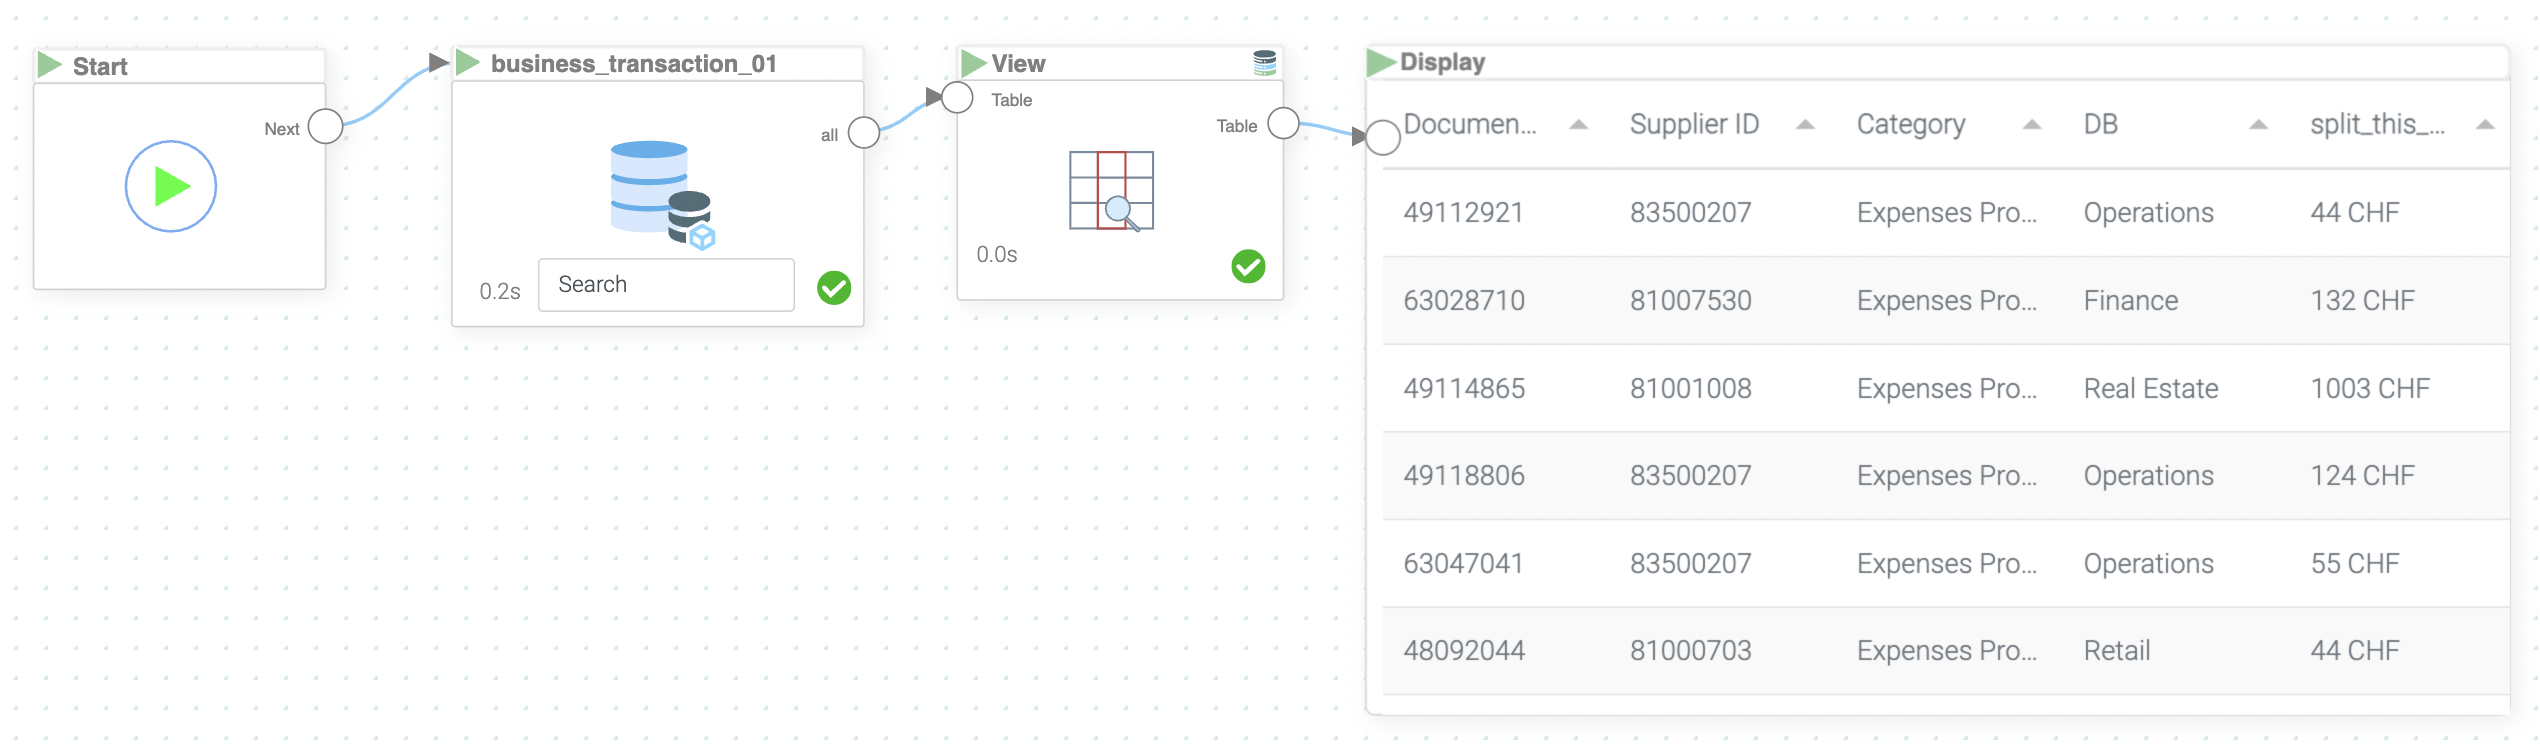
The Basics: Start BLOX serves as a trigger and should be connected to the play button on the data BLOX. Each BLOX can be triggered directly by pressing this play button.
Hint
Logics can only be triggered with the Run button on the top right, if there is a dedicated Start BLOX in the logic. It is good practice to start with placing a start BLOX on the Flow Builder. Browse through the Basics Module until you find the start BLOX. Drag-and-drop it onto the flow area.
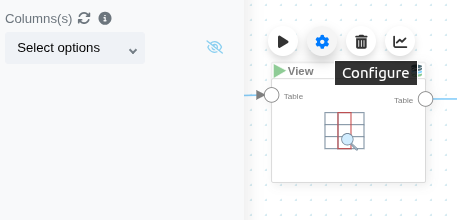
The goal right know is to view some columns of your choosing. This can be done with the Database: View BLOX. After connecting the data BLOX to a View Blox you can open the settings by hovering and see a dropdown called "Columns". Just pick your columns of interest. I.e. Document_Number, Document_Date.
Pro User Tip
If you know exactly which column(s) you want to use, it is possible to type in directly the chosen column(s). Then you can just run the BLOX as otherwise.
Now add a display BLOX to have some visual feedback and see how information propagates from the left to the right in your logic.
4. Start and Check BLOX Data
Start the BLOX and click it to check what data is stored in this table in the result at the bottom.
Results and Summary
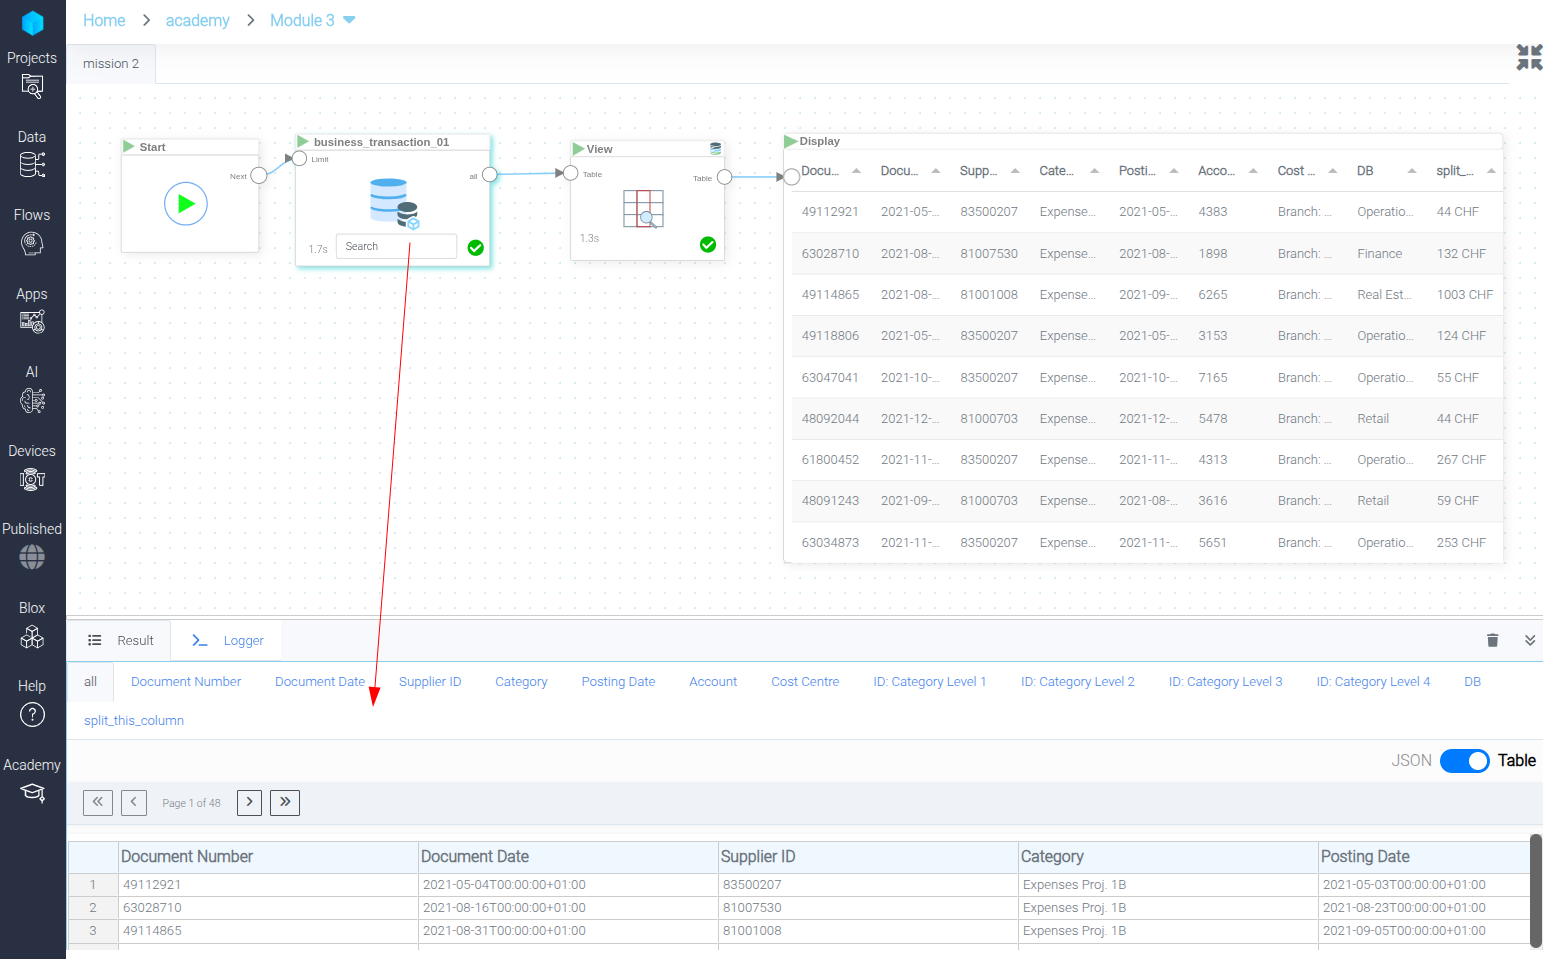
The final logic composition should look like this: