Mission 1: Create AI Agent
Estimated time: 5 minutes
Learning Objective
Learn how to create your first AI Agent in LOGIBLOX. You will understand the process of setting up a new project, creating an AI Agent, and navigating its interface. By the end of this mission, you will be able to create and configure AI Agents, laying the foundation for integrating advanced language models into your workflows.
Prerequisites
Please refer to the Navigation Guide to familiarize yourself with the platform interface before starting this mission.
Step-by-Step Instructions
1. Create a New Project
In the main view panel, click New Project and name it "AI Agent" in the dialog.
2. Navigate to Your Project
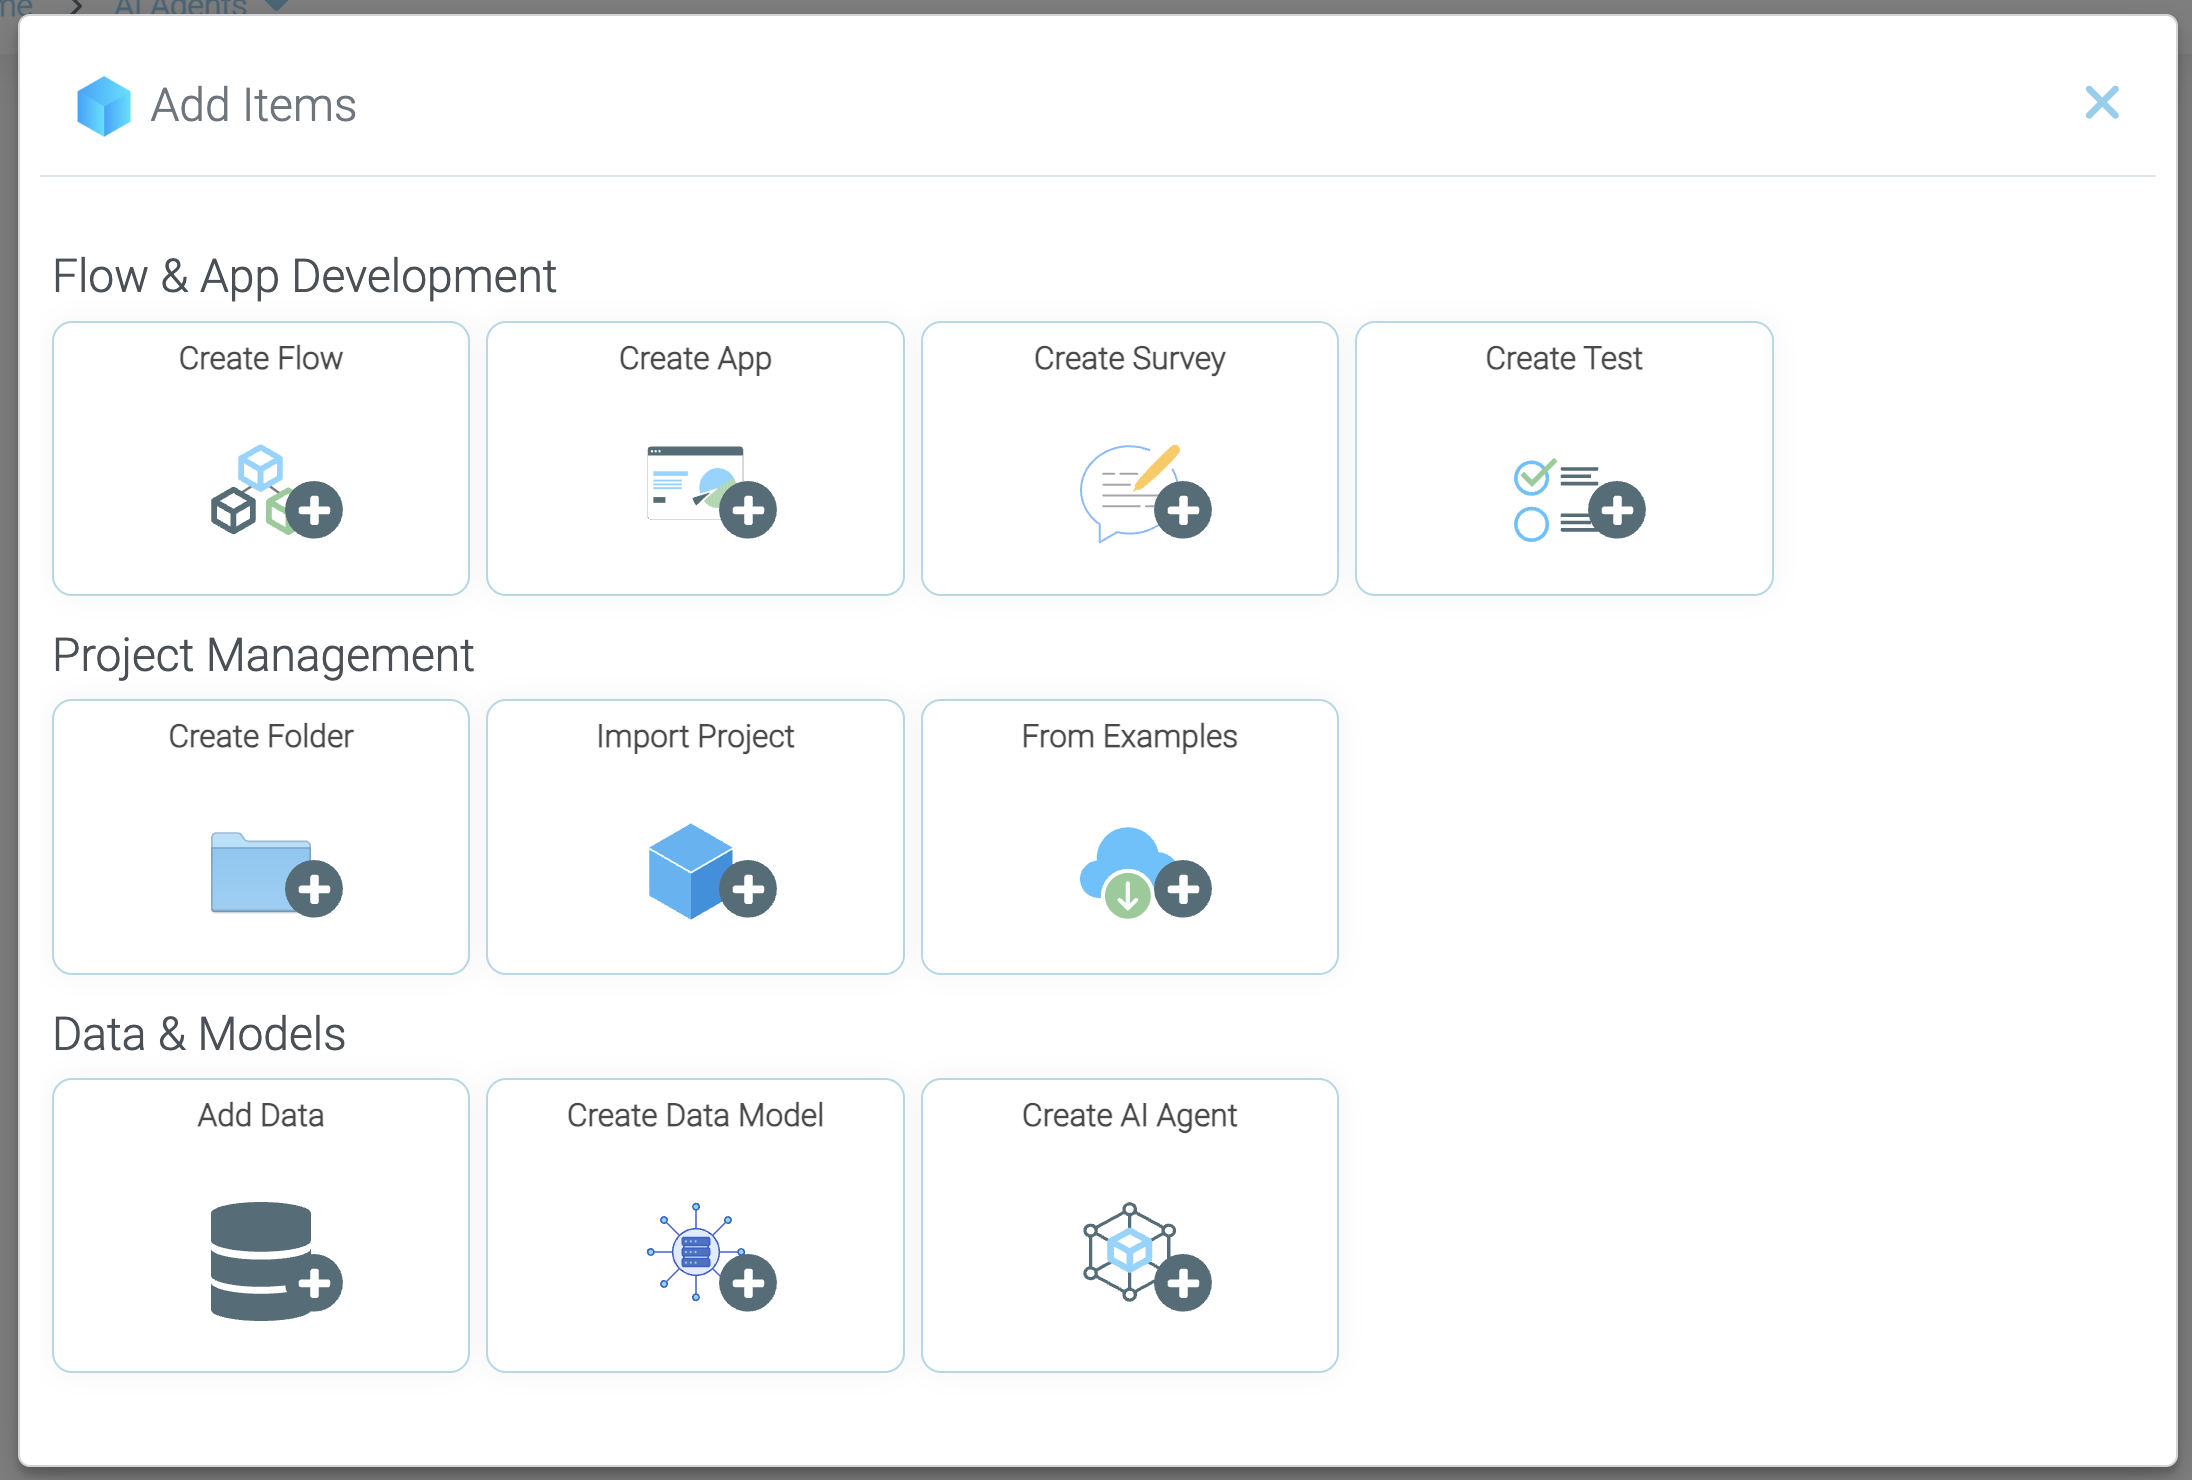
Open the "AI Agent" folder and click on the "Add Item" button.
3. Create the AI Agent
Click "Create AI Agent" and choose a name. You have now created your first AI Agent!
4. Open and Explore the Interface
Double-click the AI Agent to open it and explore the interface. The following sections explain each component.
Understanding the AI Agent Interface
AI Agent Creation Dialog
In the Add Items dialog, select Create AI Agent to open the AI Agent interface.
Navigation Menu
The menu provides access to different sections of your AI Agent configuration.

Prompts Tab
Use the Prompts tab to:
-
Ask questions to your AI Agent
-
Test responses in real-time

Documents Tab
The Documents tab allows you to:
-
Upload PDF files to provide context
-
Train the agent with specific information

Configuration Tab
The Configuration tab lets you:
-
Adjust precision and response settings
-
Customize agent behavior

Key Components
| Component | Purpose |
|---|---|
| Menu | Navigate between different sections |
| Prompts | Test and interact with your AI Agent |
| Documents | Upload training materials (PDFs) |
| Configuration | Fine-tune agent settings and parameters |
Summary
You've successfully learned how to:
✓ Create your first AI Agent
✓ Navigate the AI Agent interface
✓ Understand the Prompts tab for testing
✓ Locate the Documents tab for training
✓ Access the Configuration tab for settings