Mission 1: Importing Data
Learning Objective
Learn how to import an Excel file into LOGIBLOX and begin working with your data in the platform.
Dataset
Download the required dataset: business_transaction.xlsx
Prerequisites
Please refer to the Navigation Guide to familiarize yourself with the platform interface before starting this mission.
Step-by-Step Instructions
1. Navigate to Projects
Go to the Projects section and click on the "Add Item" button.
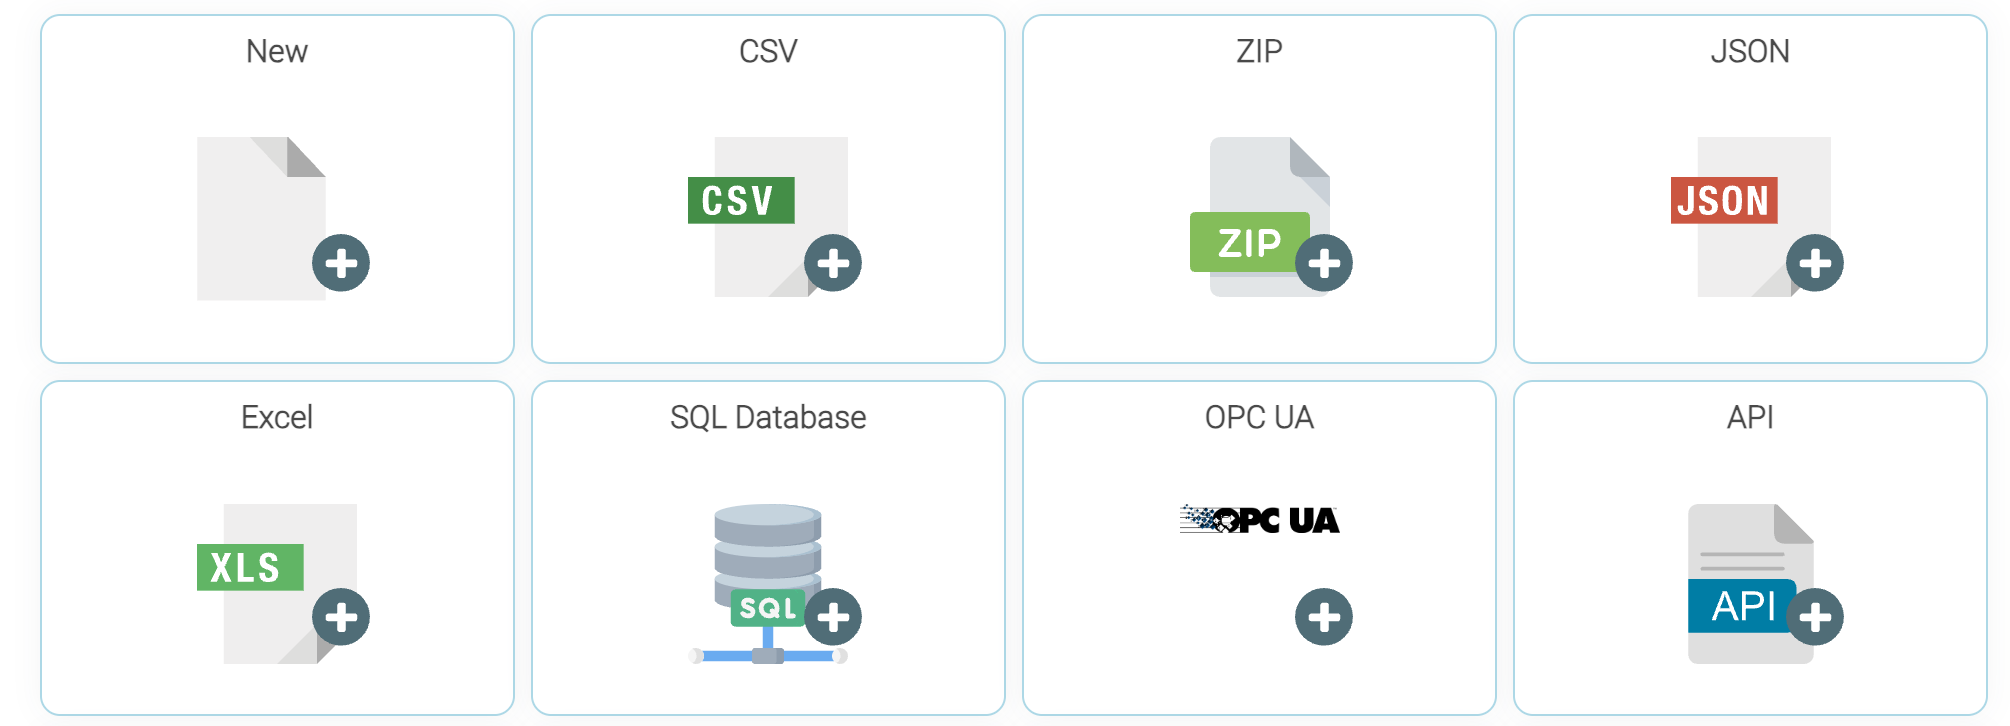
2. Select Add Data
Click on "Add Data" and you'll see different options depending on your data type. In this example, we'll use the Excel format.
3. Open File Browser
Click on the Excel logo to open the file browser. Make sure you have downloaded the dataset to your computer.
4. Select and Name Your Dataset
- Select the
business_transaction.xlsxfile - Specify the name it should be imported as (e.g., "Amazon Sales")
- Choose which sheet you want to import if the file contains multiple sheets
5. View the Imported Data
Once the import is complete, open the data for viewing and exploration.
Visual Guide

Result

Summary
You've successfully learned how to:
✓ Navigate to the data import section
✓ Select the appropriate data source type
✓ Import an Excel file into LOGIBLOX
✓ Name and configure your dataset
✓ View your imported data